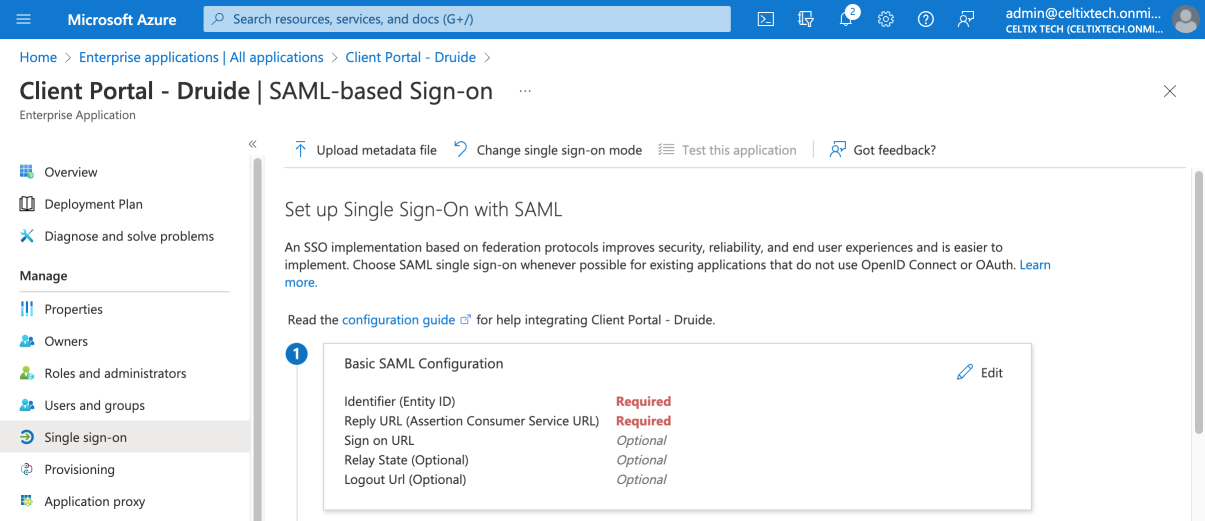
Click Edit in the first block, which is titled Basic SAML Configuration.
3
Enter the data in the panel that appears, copying the information from the Client Portal window you left open before.
4.1 Start by clicking Add identifier.
4.2 Copy the text from the Entity ID field in the Client Portal and paste it into the Identifier (Entity ID) field in Entra ID. (Shown with the blue arrow.)
4.3 Click Add reply URL.
4.4 Copy the text from the Reply URL (Assertion Consumer service URL) field in the Client Portal and paste it into the Reply URL (Assertion Consumer Service URL) field in Entra ID. (Shown with the green arrow.)
4.5 Copy the text from the Logout URL field in the Client Portal and paste it in the Logout URL (optional) field in Entra ID. (Shown with the orange arrow.)
Return to the Client Portal window and continue the configuration procedure outlined in Step 2 — SAML Configuration. You will need the information in Entra ID window you left open at the end of section C.
1.1 Copy the text from the second field in Entra ID, Entra ID Identifier, and paste it into the first field in the Client Portal, Entity ID. (Shown with the blue arrow.)
1.2 Copy the text from the Login URL in Entra ID and paste it into the Login URL in the Client Portal (Shown with the green arrow.)
1.3 Copy the text from the Logout URL in Entra ID and paste into the Logout URL (optional) field in the Client Portal (Shown with the orange arrow.)
Once all this information has been copied into the Client Portal, you may close the Entra ID window.
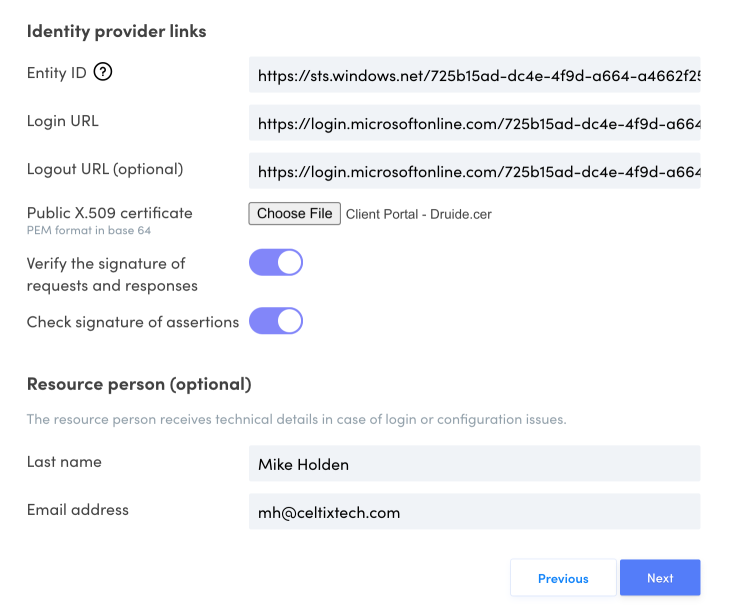
Upload the certificate you downloaded earlier from Entra ID by clicking the Choose File button.
 3
3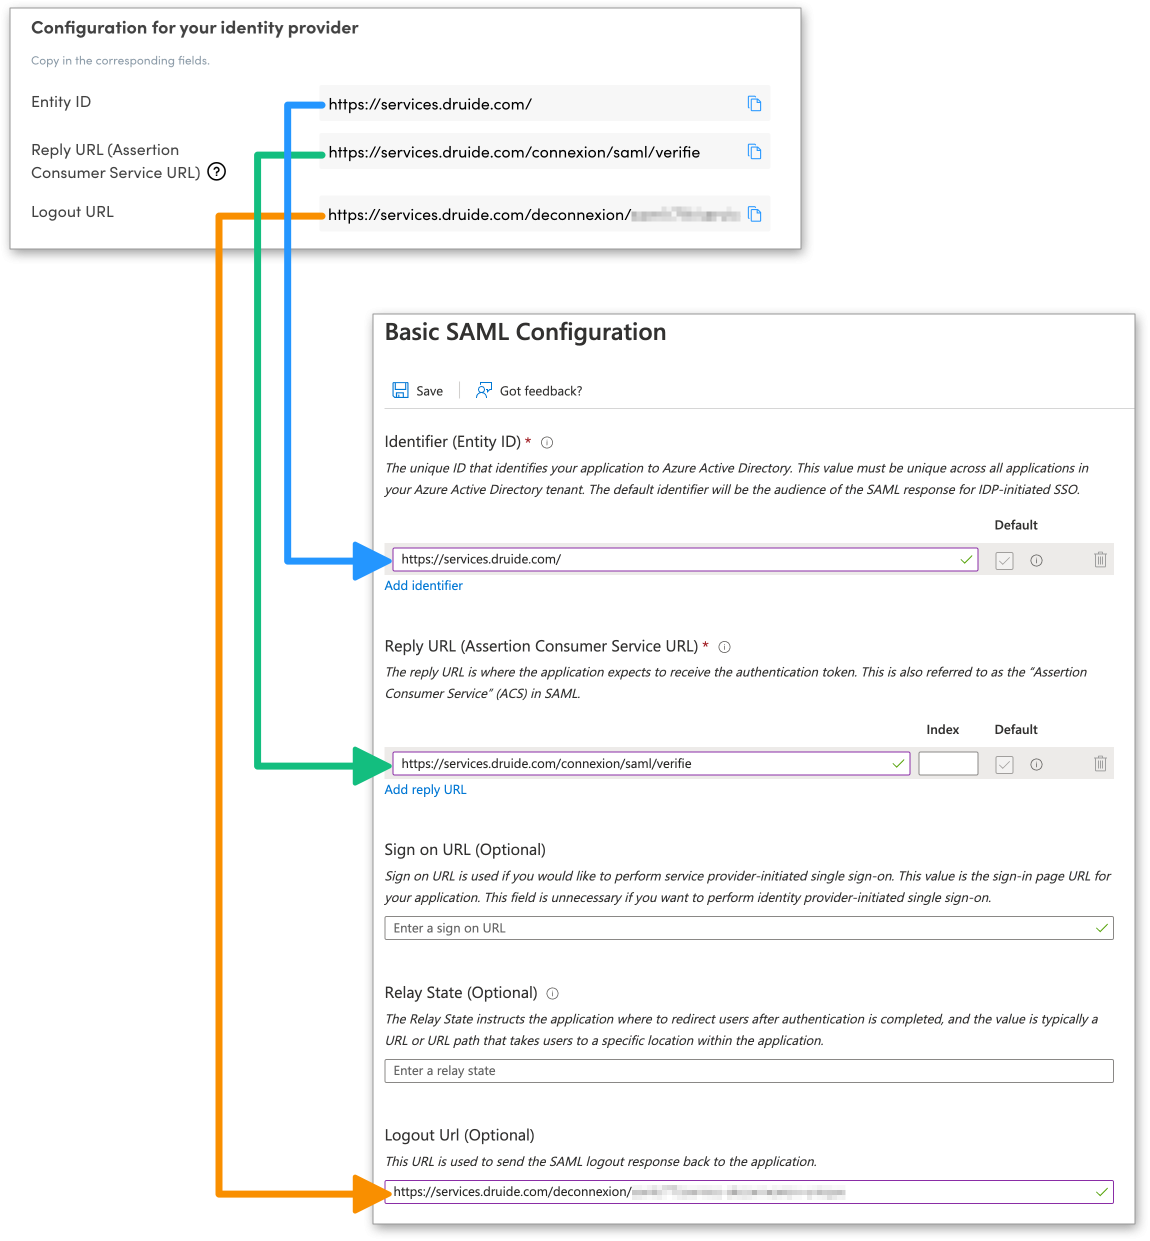 4.14.3
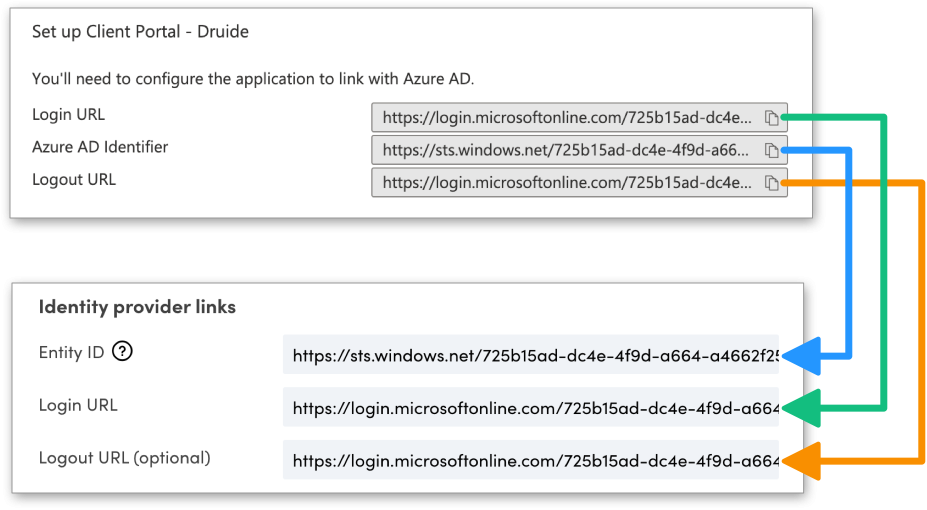
 2
2