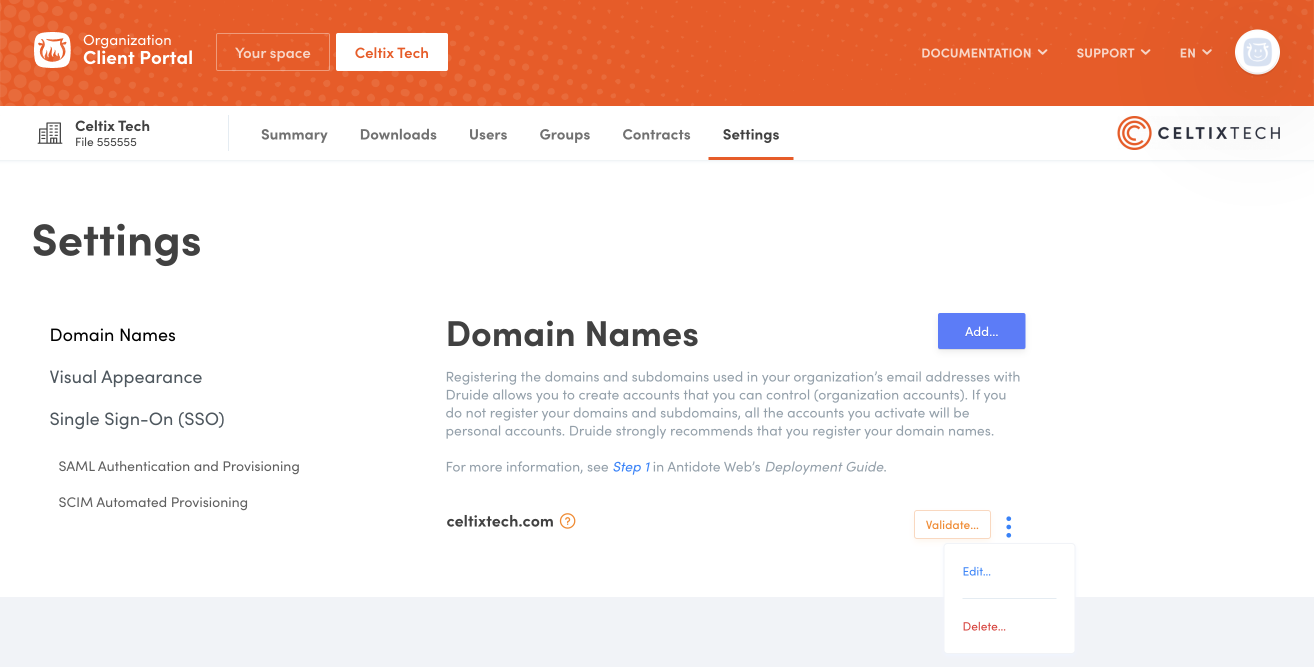
Registering Domain Names
Before you create accounts that are managed by your organization, you should register all domains and subdomains used for the organization’s email addresses with Druide. While this is optional, it is highly recommended, so you can create organization accounts.
The domain or subdomain is the part of the email address that follows the “@”. Very often, it corresponds to an organization’s website URL.
Example — Email addresses for employees at Celtix Tech usually follow the format: firstname.lastname@celtixtech.com. The domain registered with Druide is celtixtech.com. The company also uses subdomains such as service.celtixtech.com and it.celtixtech.com for certain addresses (e.g.: administrator@service.celtixtech.com). These two subdomains must also be registered with Druide.
Tip — Registering the domain is optional; you can create accounts without it. However, the accounts will be considered personal accounts. Learn more about the differences between account types in the Organization Client Portal User Guide.
Register a domain name in the Client Portal by following these steps.
- Open the Settings tab.
- Select Domain Names on the left.
- Click Add.
- Enter the domain name, including a subdomain if necessary, and click Save.
-
 123
123
The instructions below will appear on the screen; follow them to verify the domain name.
Step 1 — Access your DNS records
- Log into your domain host account.
- You can access your domain’s DNS records on a page that is usually called DNS Management, Name Server Management, Control Panel or Advanced Settings.
- Select the option to add a record.
Step 2 — Register the verification code
- Choose to add a TXT record.
- In the Name/Host/Alias field, enter
@or leave the field blank. Your host might ask you to give your domain name in this field. If need be, consult your other DNS records to see what you should enter.- In the TTL value field (Time-to-Live), enter
86400or leave the default value.- Copy the validation code from the instructions displayed in the Client Portal and paste it in the Value/Answer/Destination field.
- Save the record. If you are shown a warning message about changing your DNS settings, ignore it. A new TXT record will not affect your website or your DNS settings.
Once you have completed these steps, click Validate in the Client Portal.
Note — If you can’t find the location of your DNS records, contact your website’s hosting provider.